Hex Grids Documentation
Welcome to the Hex Grids Documentation.
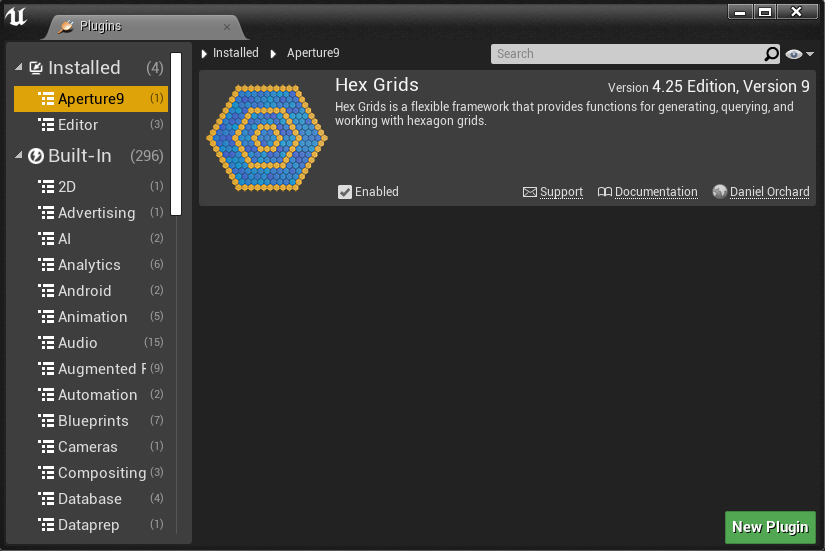
To get started with Hex Grids, first add the plugin to your preferred engine version via the Unreal Launcher.
Once this is downloaded and installed. Open up your Unreal project, and navigate to the plugins (Settings>Plugins). Navigate to the HexGrids plugin found in the Aperture9 category in your project plugins, and tick the enable box. You will then have to restart your Unreal project.
Once your project has loaded back up, you are ready to begin with Hex Grids.
Hex Grids ships with pre-made blueprints and assets to get you up and running quickly. These assets live within the plugins content folder. To be able to see this, navigate to the bottom right of your content browser, to the View Options. Open the view options up and tick Show Engine Content, and Show Plugin Content.
With these options enabled, you should be able to see a large list of folders in your content browsers folder list. Scroll down to the HexGrids Content folder, and select it.
Now you have access to the Hex Grids folder, you should open the HexGrids folder (the ExampleContent folder just holds Epic Assets). To get started head into the Maps folder, and take a look at some of the example maps. The maps contain:
- Demo Room - This map contains a wide assortment of Hex Grid examples showing ways to use individual functions, and some more complex setups such as AI driven movement across the Hex Board. This map should be your prime reference to how to use many of the functions available.
- Multi Instance Example - This map shows a fairly complex setup to demo how you might utilise multiple Instanced Static Meshes at once to build a single Hex Grid. Working this way is the most performant method of using different grid meshes together, however the setup is very complex and only recommended if you need that level of performance.
- Overview - This map shows the most basic of usage, a Simple Hex Grid in default settings, and also shows the patch notes that the Grid has received.
- Runtime Map Builder. This map shows an example of how you might load and save Hex Grid Maps, as well as enabling the user/developer to make their own custom grid shapes.
- Showcase - This map shows a highly animated grid to show some of the functions in action as well as demonstrating ways to manipulate the grid itself, which can be great for animating a grid loading into the world or applying modifications to the tiles.
Now you have seen the demonstration maps, you can start adding the Hex Grids blueprint to your worlds. I highly recommend using the HexGrids blueprint found in the blueprints folders. There are many other blueprints available that use specific setups, but the general HexGrids is the best starting point. You can either work from the plugin one, or better yet, copy that blueprint into your own project content folder, both for easy access, and so you have the original to refer back to if things go wrong.
Drag and drop that HexGrid BP into your world, and start playing with the details to get the grid shape and size to your liking. Since this runs in construction script, I recommend typing values rather than dragging sliders, as this gets a bit laggy to re-run construction script so fast.
Once you are happy with shape and size, go ahead and open the blueprint editor, and take a look at the construction script. The Grid is broken up into a set of functions to make the flow easy to understand.
- Delete Grid is the first function. This cleans up the grid from any previous construction script runs, and is also very handy at runtime when modifying grid size, since you should clean up the old grid and re-run the chain whenever modifying the grid. This makes the grid fully modifiable at runtime!
- Generate Grid is the core of grid generation. This generates the data grid, which is ultimately an array of coordinates. This de-couples the grid concept from the mesh side, so you dont even need meshes if you like, you can work with it purely as a data only grid, and instead run grid logic but with a single landscape as the floor. Don’t be bound by the idea of a grid mesh!
- Populate Grid. In this function we generate the mesh to visualise the grid. This function supports both Instanced static mesh, or static mesh components. Each have their benefits and flaws (see below). You will want to customise this function for your own uses more than the rest, to control what meshes are generated, and what they do. If you want to work with tile blueprints, you can do that too, swap out the AddStaticMesh approach for a SpawnActorFromClass, and you can spawn blueprints for each tile (This wont work in construction script, so you will want to move the PopulateGrid to BeginPlay).
Static Meshes VS Instanced Static Mesh
If you want to use meshes for your tiles, you need to decide which approach you want to go down in terms of static mesh components, vs a instanced static mesh component(henceforth abbreviated to ISM). Static mesh components are tried and tested and we all know what they do, so I’m going to talk about the pros and cons of ISMs, compared to the safe and reliable Static Mesh.
The main benefits of ISMs is that they are super cheap to render, and your grid can be 10x larger than a normal mesh grid thanks to that. If you want a large grid or working with mobile, you should try to use the ISM approach for the best memory efficiency. However the main downside is a ISM is a copy of a single mesh, therefore, you cannot use different tile designs. ISMs then are more ideal if you want a hex mesh to visualise your grid, but can place your artwork separately, on top of the grid.
ISM Meta
New in 4.24 or 25 (Im not quite sure which), is the concept of adding meta tags to your ISMs, this can empower you to make ISMs a little more unique in material design.