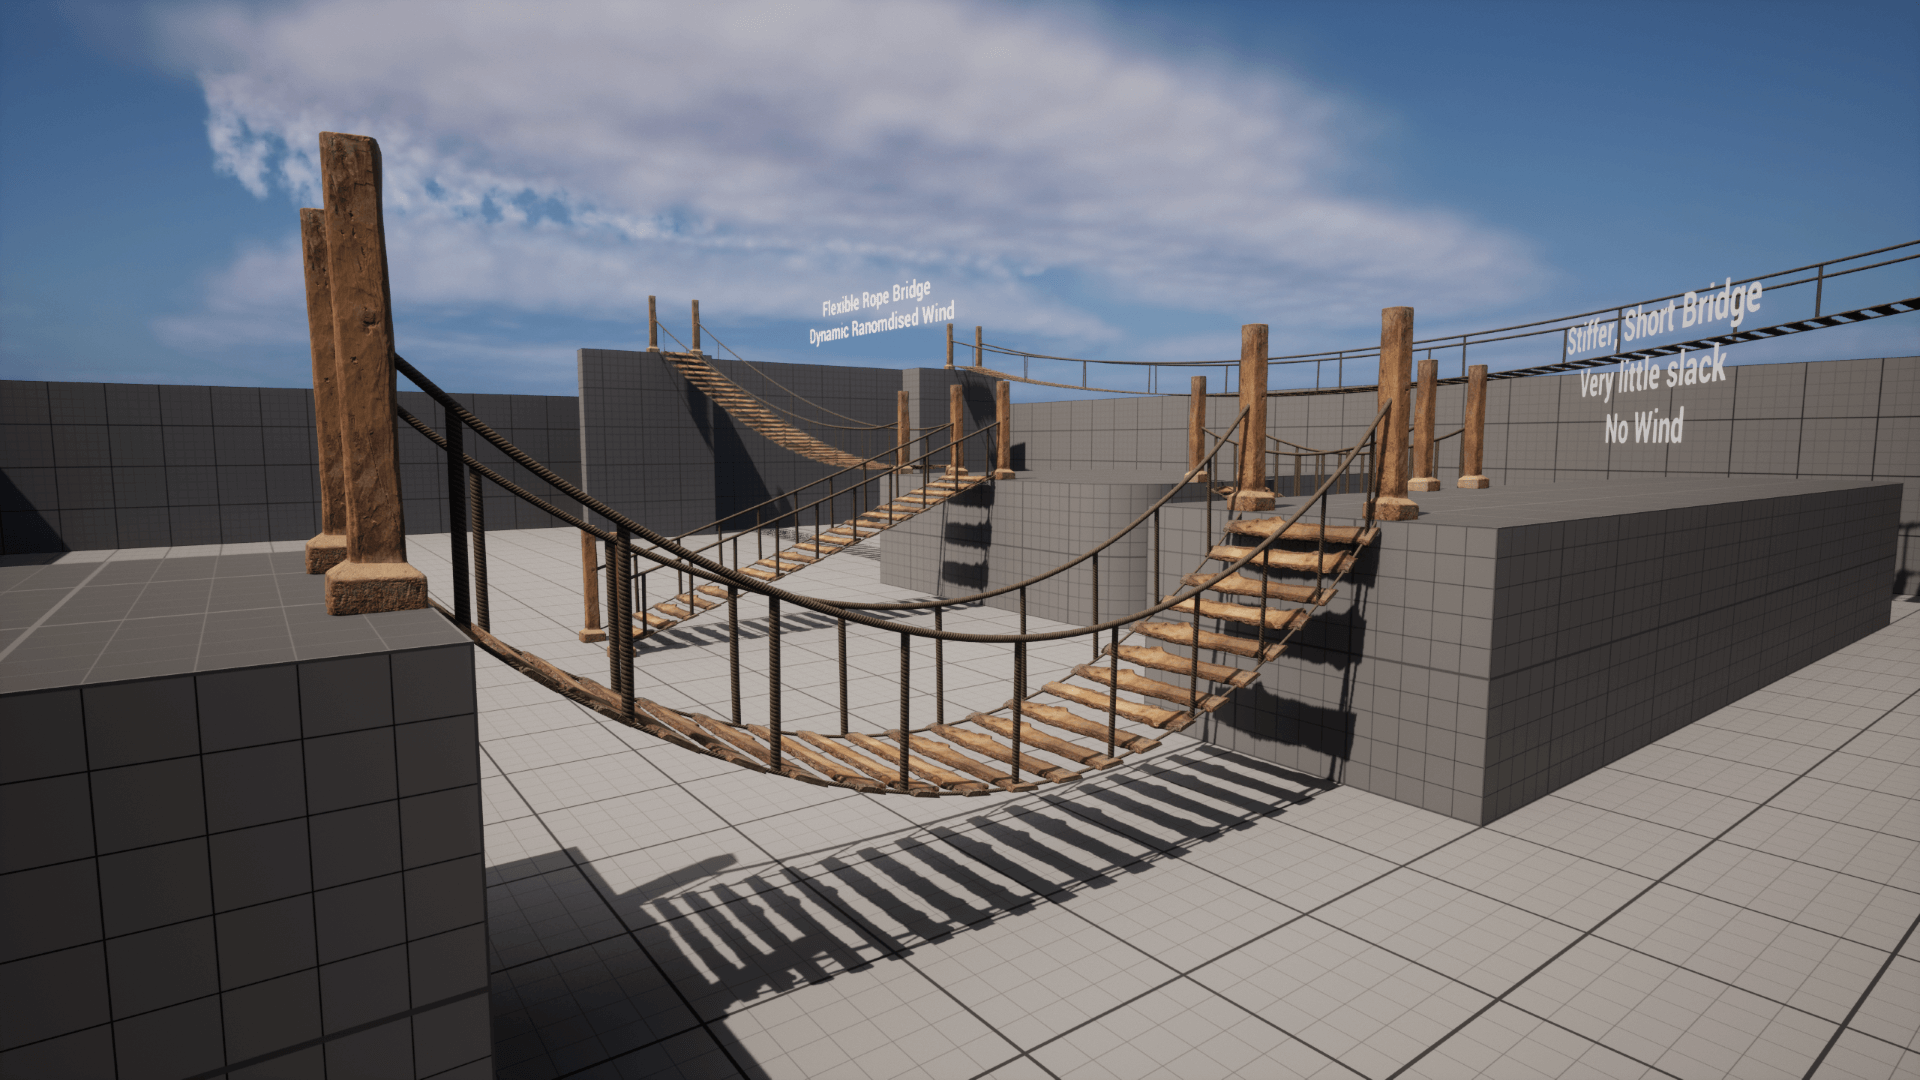
Dynamic Rope Bridges
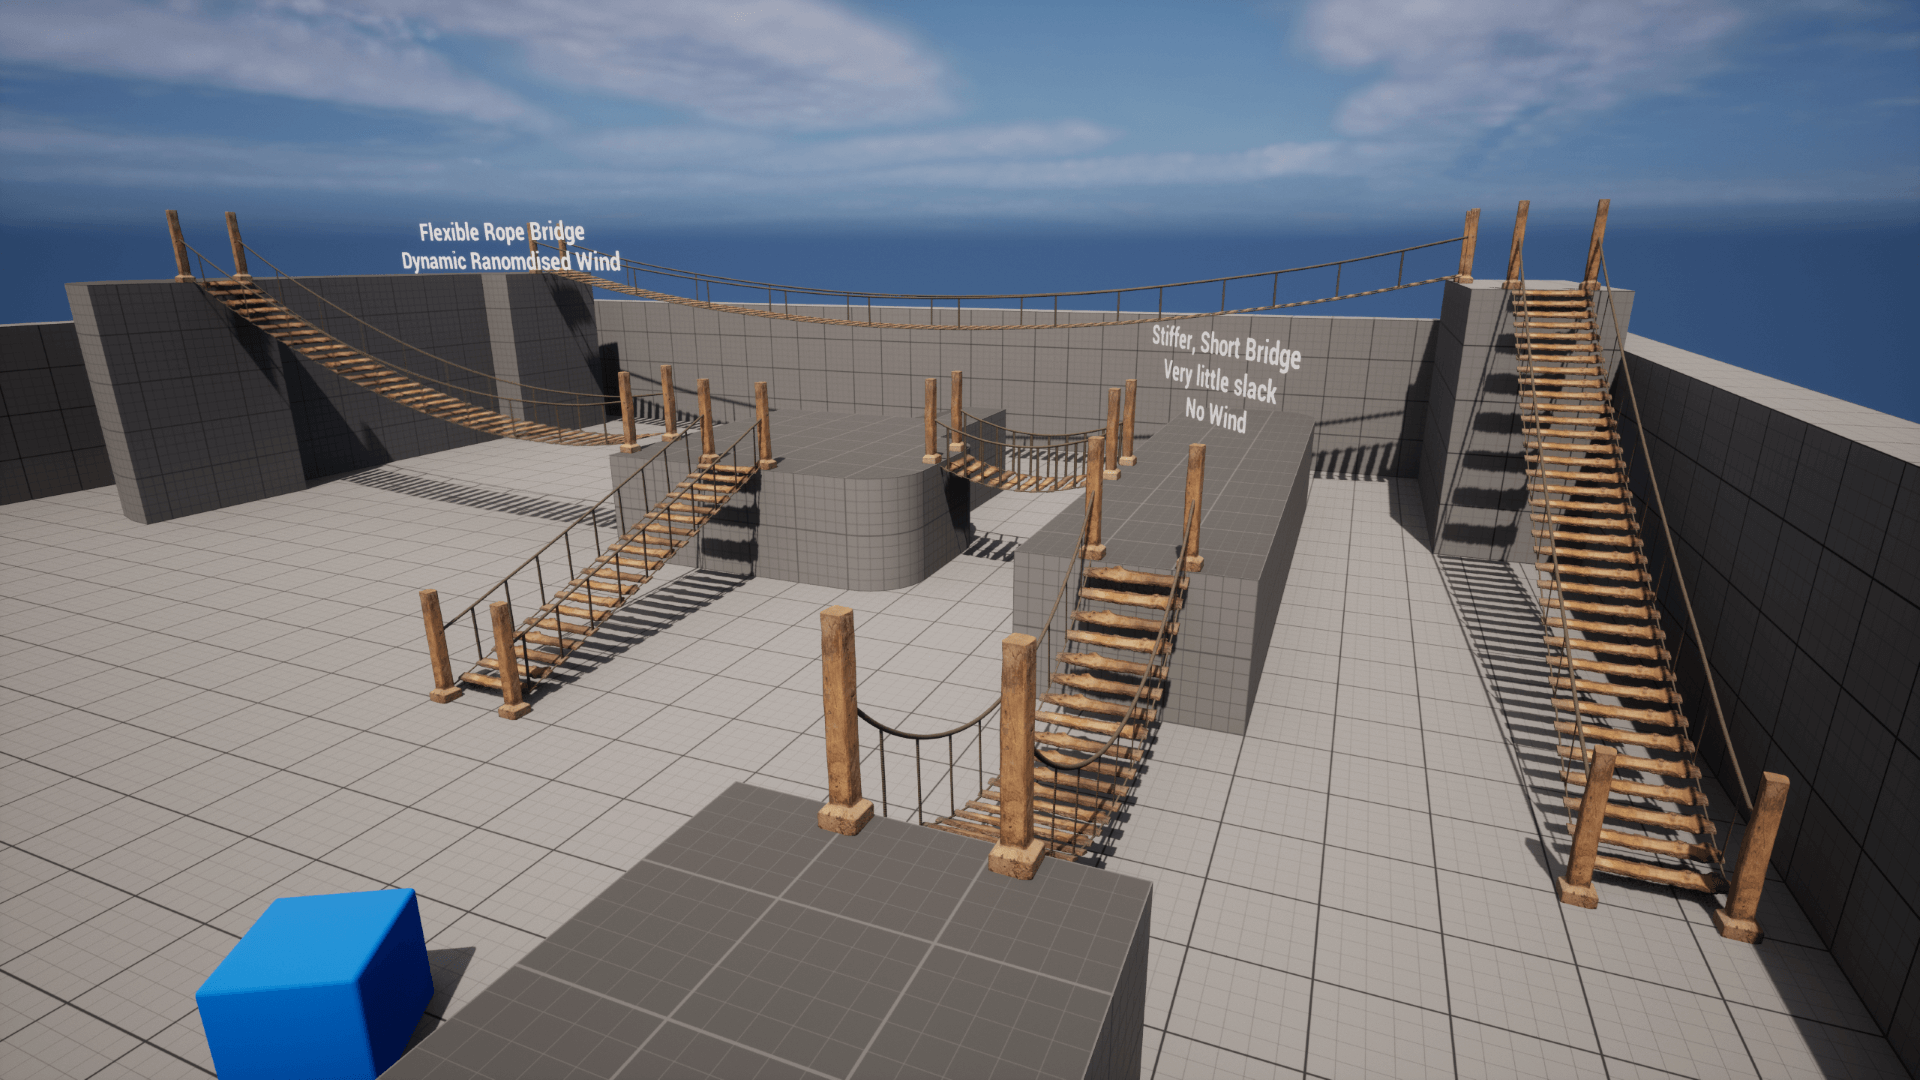
Dynamic rope bridge, responsive to players and environment. Modular, easily customizable, and optimized for performance


Youtube videos coming soon
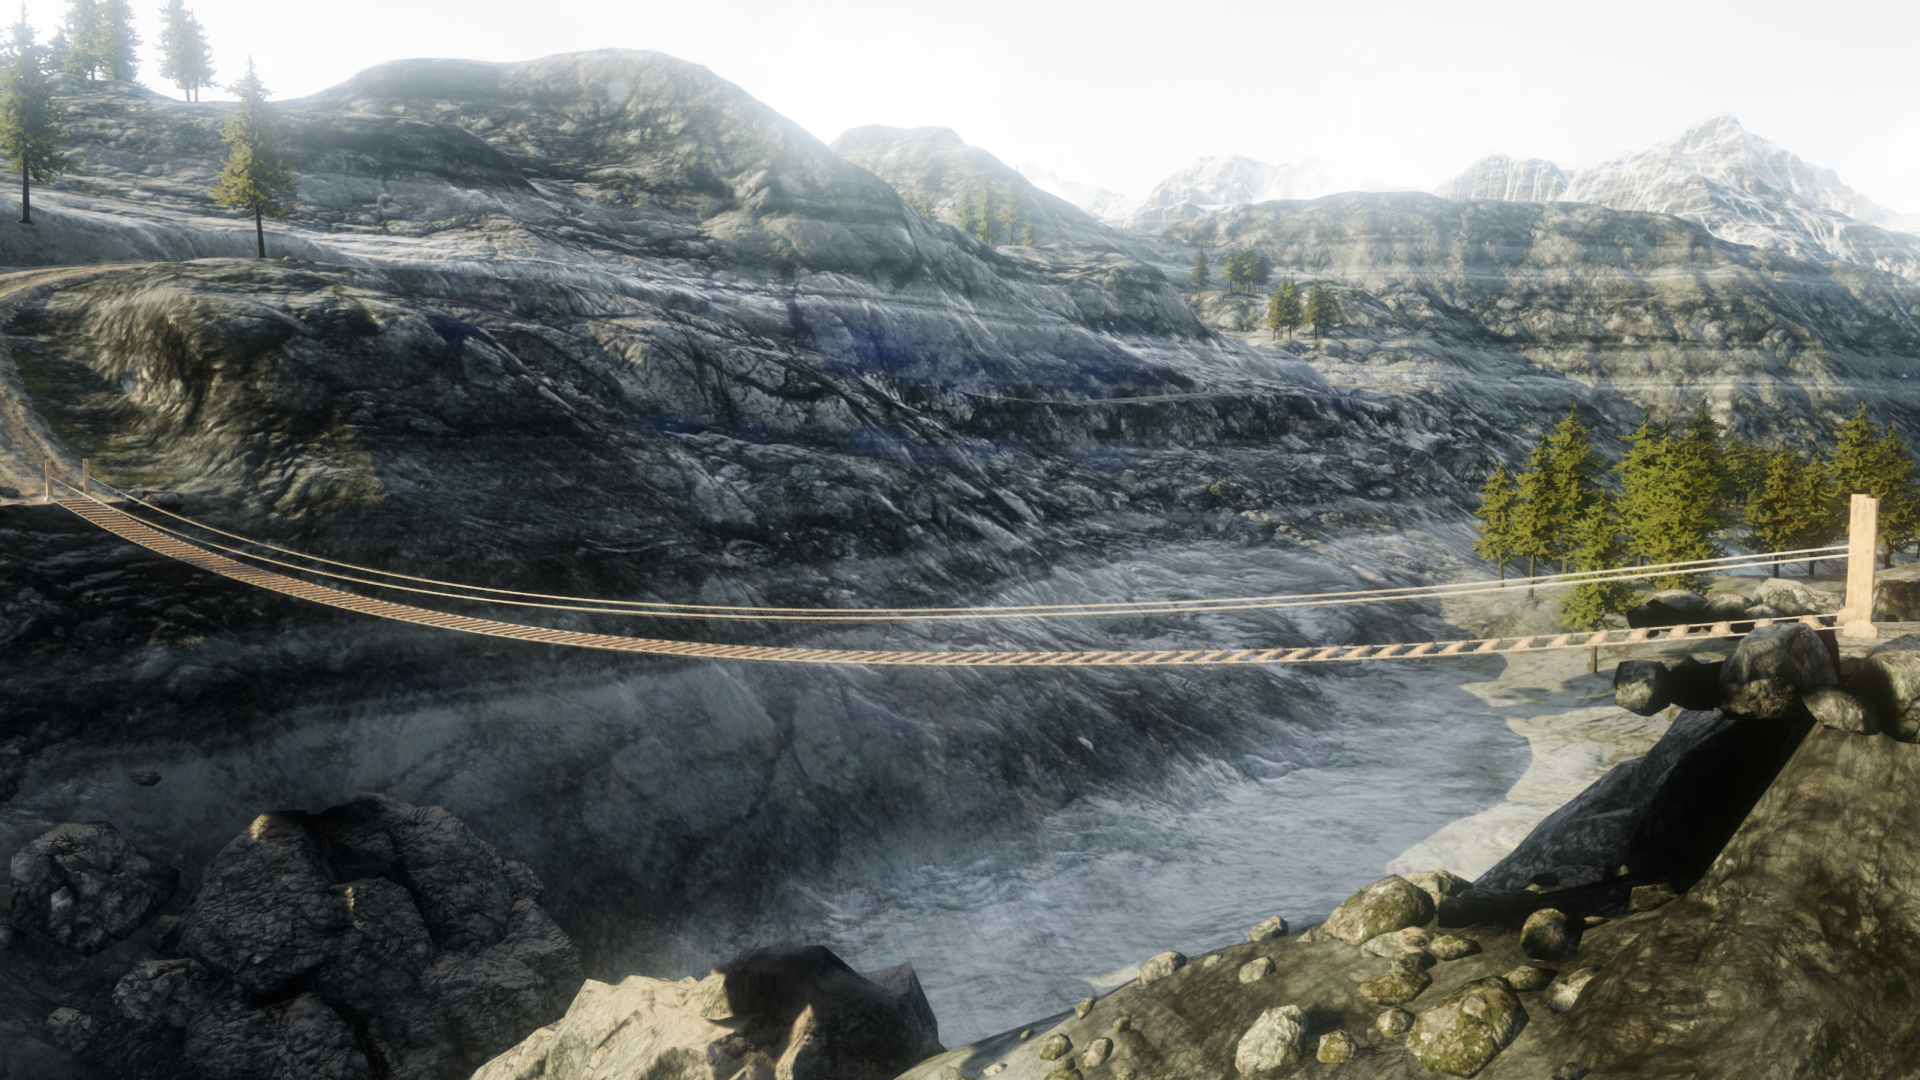
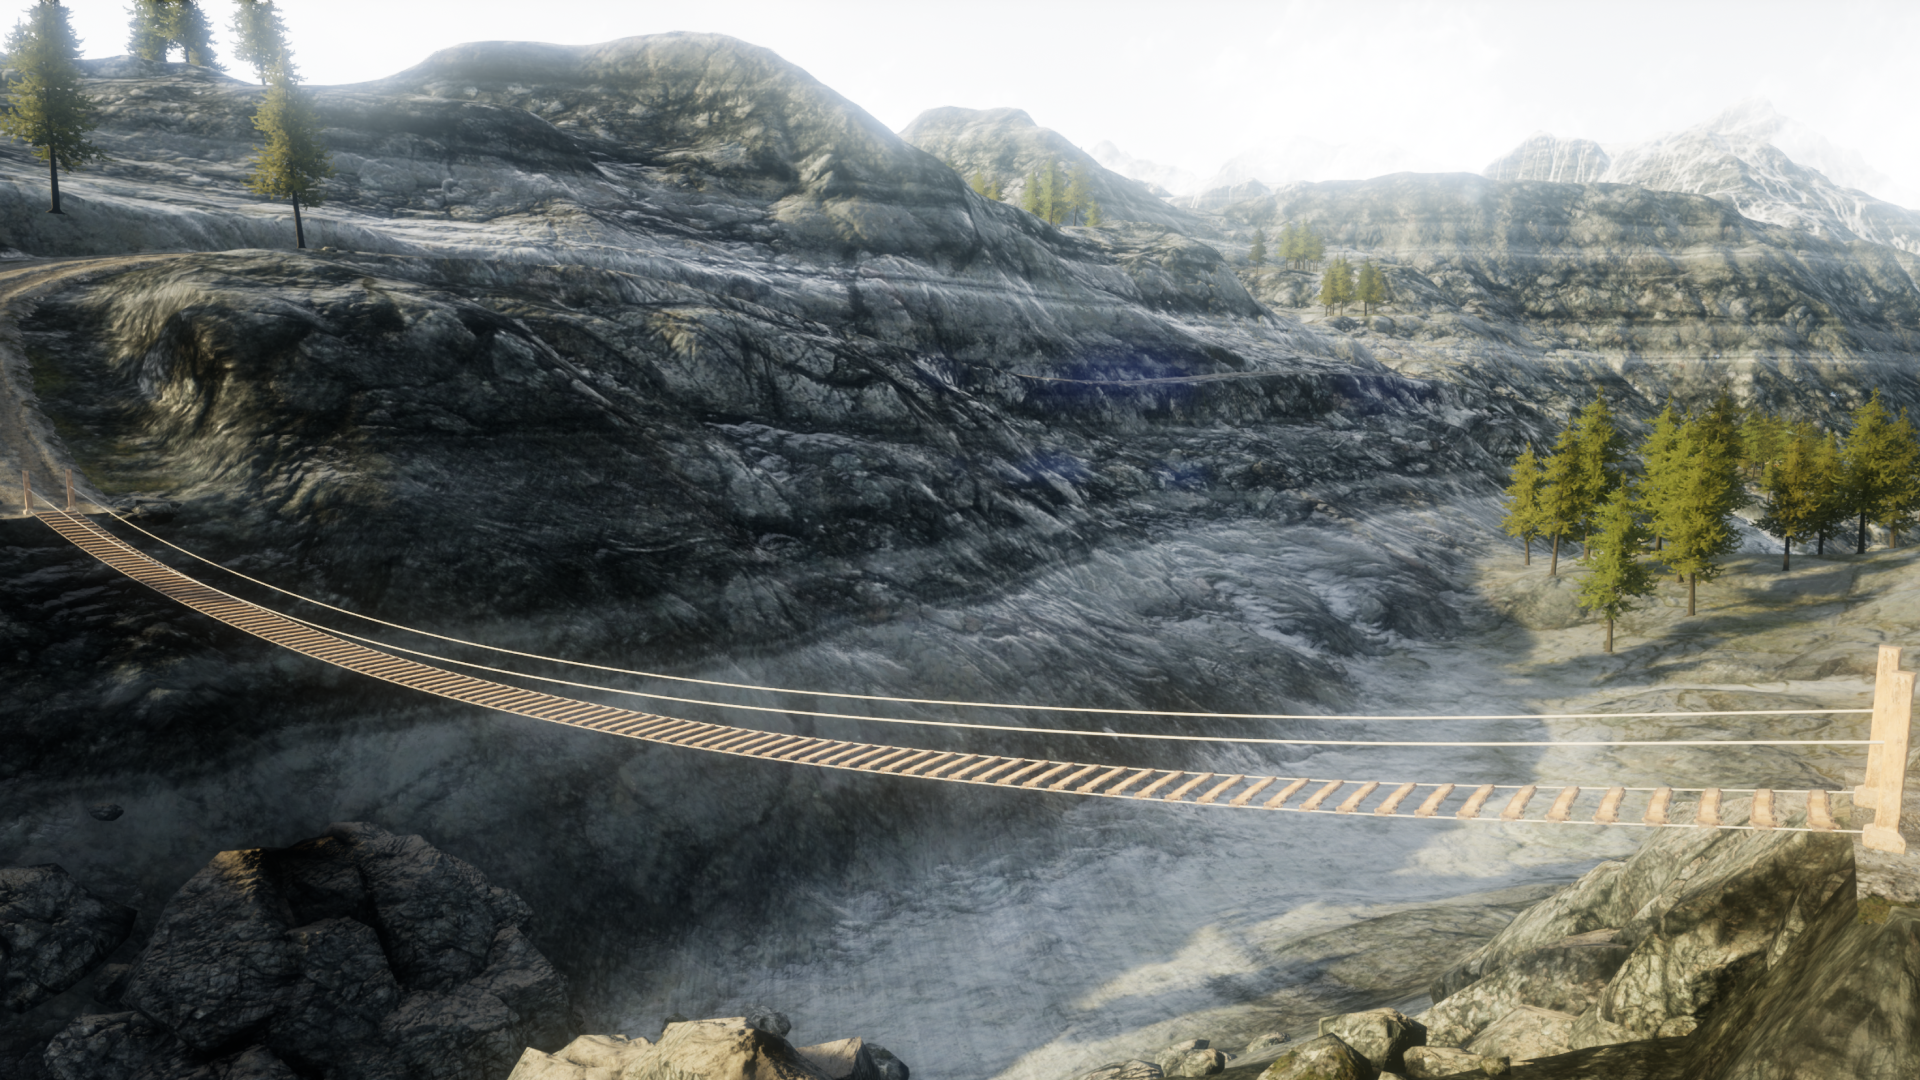
Introducing the Dynamic Rope Bridge, a revolutionary digital asset that dynamically responds to players, environmental elements like wind, and objects on its path. Designed for versatility, it's modular, allowing customization in length and appearance with any meshes. It's optimized for high performance, with a special sleep system for enhanced efficiency. Easy to integrate, it comes as a single drag-and-drop blueprint. Discover more through our overview video and a detailed tutorial on customizing meshes, perfect for adding interactive elements to your game environments.
Features:
- Ready to use, Drag-And-Drop, customise your details, and done.
- Dynamic response to players or objects, looks organic and realistic when you run across it.
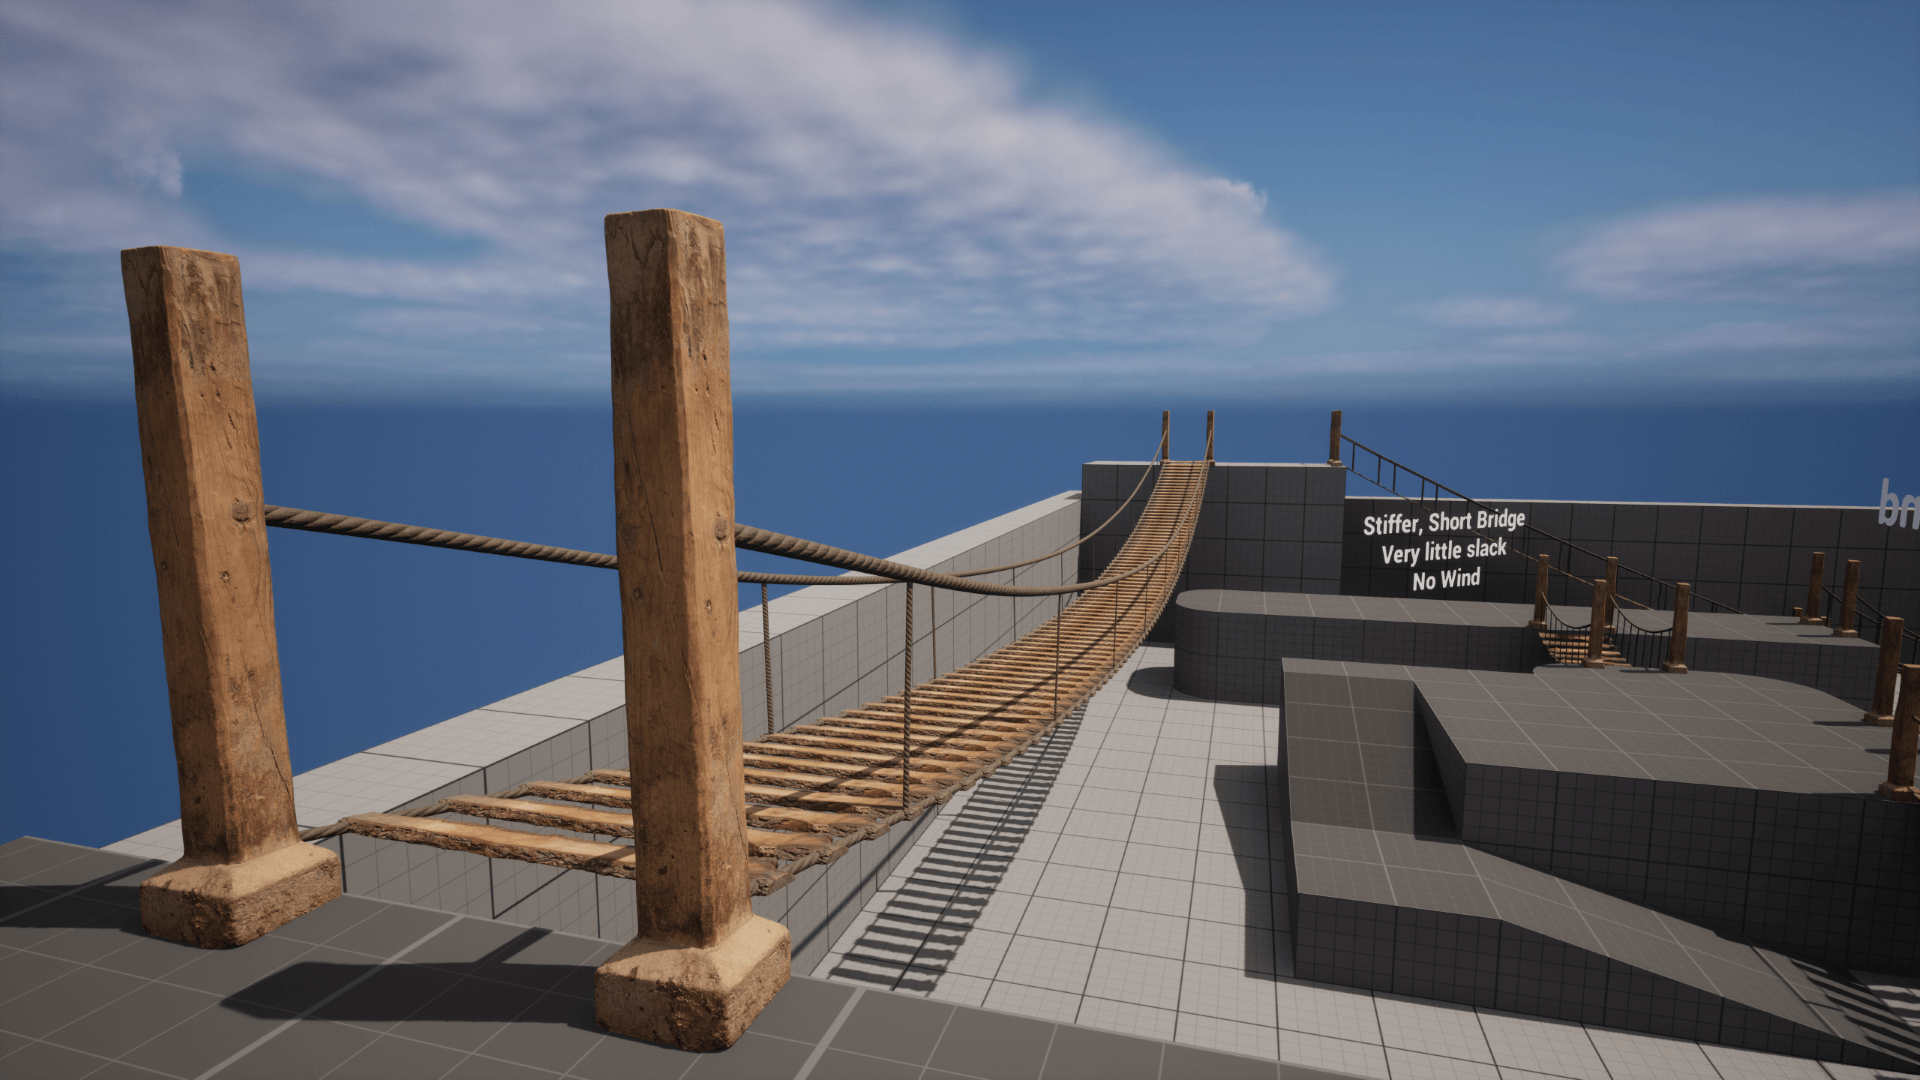
- Optional wind system to add additional movement, at a small performance cost.
- Optimised as much as possible, just 1 single physics component, the rest is ISMs, spline meshes, or static meshes.
How to Use
Install the pack from the Unreal Engine Marketplace.
In the content browser, navigate to RopeBridges/Blueprints, and drag the Rope Bridge blueprint into your world
With the blueprint selected in the world outliner, position it on the start of your bridge, then select the 3D Vector widget (purple diamond), and move that to the end of your bridge
Not all elements of the bridge will draw in editor. The bridge only supports physics and some other features in runtime
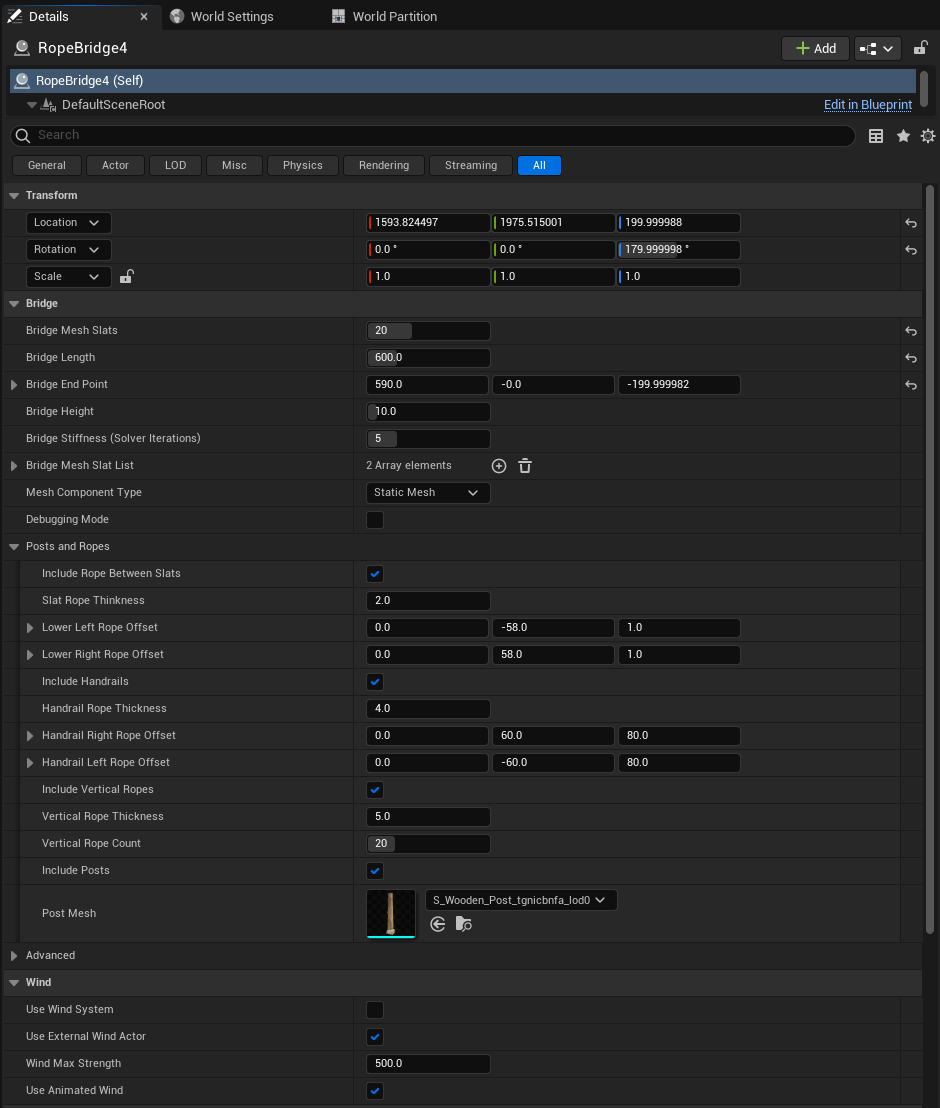
The details panel has the most common attributes to customise. Most of these have tooltips that will explain more when you mouse over them.
Drop down the Posts and Ropes section to customise those elements.
Mesh Customisation
- Bridge Slats - These can be customised in the details panel, and supports random meshes. Add one or
more meshes to
Bridge Mesh Slat List. The bridge is X forward, so on a bridge slat, the Y axis would point down the board.You can easily use the modelling tools in UE5 to re-orient your axis: Drag your mesh into the world, zero its transform, rotate 90 in Z so its correctly orientated for bridge, then use the modelling tools - "BakeRS" tool to burn that 90 rotation into the mesh.
- Posts - These can be set directly in the detail panel. Their position matches the lower rope offsets.
They use a
Instanced Static Mesh Component, so your material will need that added to its usage if it shows up untextured. - Rope - The rope is set within blueprint, and is not exposed currently. This is because it uses a Spline
Mesh Component, so its ideal to stick with the 1cm_Tube mesh used. If you want to customise it, or swap
its materials, open the
Update Ropefunction (the singular, not Update Ropes). In that function is theAdd Spline Mesh Componentnode, select that, and override as needed. Remember if you change material, your new material will need its usage updated to include "Spline Mesh Component" in the material editor.